
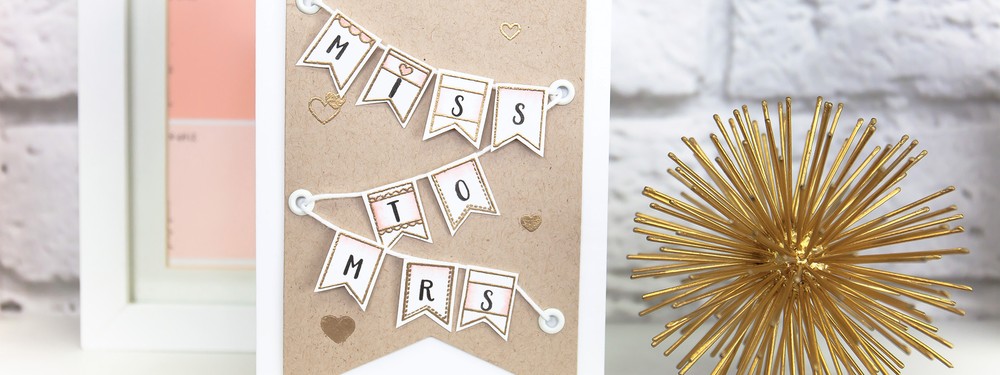
If you’re looking for an easy way to create two different cards from the same card base, then look no further than creating a same embossed card base. Embossing is a great way to add texture and dimension to your cards, and it’s perfect for creating two completely different cards from the same card base.
The first card can be created using a dry embossing technique. Start by selecting a piece of cardstock with a light enough colour to allow the embossing to show through. Next, use an embossing folder and a die cutting machine to create the embossed design. Once your design is complete, add crafting embellishments and/or adhesives to the card as desired.
The second card can be created by adding colour to the same embossed card base. Start by selecting a piece of cardstock that is the same colour as the card base. Then, use an ink pad and a sponge applicator to ink the embossed design. Add additional layers of colour to create a more vibrant look. Finally, add embellishments and/or adhesives to the card as desired.
Using a same embossed card base is a great way to create two completely different cards without spending a lot of time or money. The possibilities are endless and once you get the hang of it, you’ll be able to create many different cards with the same base. So get creative and start creating!
Are you looking for a creative way to make two distinct cards with the same embossed card base? Well, look no further! In this post, we’ll be walking you through how to make two different cards, with the same embossed card base.
To get started, you’ll need the following supplies:
-One sheet of cardstock
-Embossing folder
-Die cut machine
-Two card bases
-Two envelopes
-Adhesive
-Paper trimmer
-Scoring tool
-Paper punches
-Embellishments
Step 1: Cut your 12×12 paper to the size you’d like your card bases to be. We recommend 5.5” x 8.5”.
Step 2: Place the cardstock into the embossing folder and run it through the die-cut machine. This will give your card base a unique texture and pattern.
Step 3: Trim the card stock to size. You can use a paper trimmer for this step.
Step 4: Score the card stock along the edge of the embossing pattern. This will make it easier to fold the card.
Step 5: Punch two holes at the top of the card base. This will make it easier to attach the envelope.
Step 6: Cut two card bases from the embossed cardstock.
Step 7: Add adhesive to the back of the card bases and stick them onto the two envelopes.
Step 8: Embellish the cards with paper punches, ribbons, and other decorations.
And there you have it! You now have two unique cards with the same embossed card base. With this tutorial, you’ll be able to make two different cards with the same embossed card base and two envelopes. Have fun and get creative!